This tutorial was written by me for those that have a working knowledge of Paint Shop Pro.
Any similarity to other tutorials is not intentional.
Supplies:
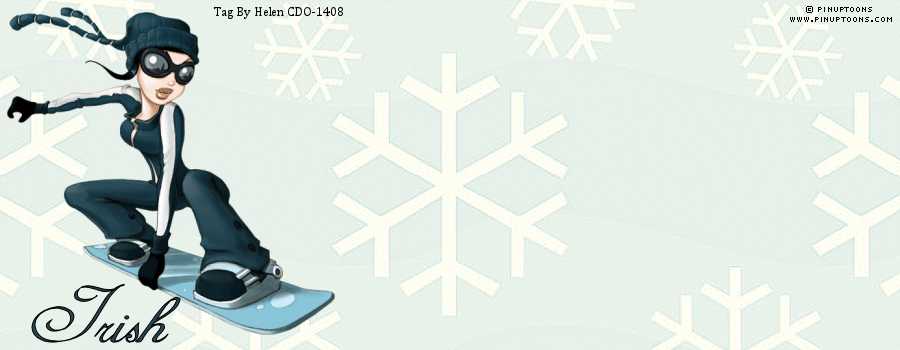
Tube of Choice. I am using Keith Garvey, I purchased this tube when he was at MPT he now has his own store which is awesome so make sure you check it out
Here.
Scrapkit - I used an fantastic kit called
Glamorous collab, W
hich you can download Here. Thank you for this beautiful kit.
Mask of choice. I used Mask 217 which you can get
Here.
Font of choice. I used Kayleigh which you can get
Here.
Ok lets get started.
Open Mask 217.
Open a new image 550 x 550 colour white.
Copy and paste Paper 7 as a new layer, Go to layers - New mask layer - From Image - Then in the pull down menu find mask 217 - Source Luminance. Invert mask data NOT ticked. Then go to layers - Merge - Merge Group.
Copy and paste Beadstring as a new layer, Place at the bottom, Go to layers - Duplicate. Then Image - Flip.
Paste Beadstring again and then go to Adjust - Hue and Saturation - Colorize and enter the numbers: Hue -231 - Saturation - 162.
Then go to Image - Mirror and place above the first purple beadstring, Then go to Layers - Duplicate, Image - Flip.
Copy and paste Frame 3 as a new layer - Resize - 90%.
Now using your magic wand tool click inside the frame and go to Selections - Modify - Expand by 4.
Copy and paste Paper 6 as a new layer, Selections - Invert, Hit the delete key. Selections - Select None.
Copy and paste Flower 4 as a new layer, Resize - 50% and place at the top left of the frame.
Copy and paste Flower 2 as a new layer, Resize - 50% and place in front of your first flower, Then go to Layers - Duplicate and move this layer below the first flower layer.
Copy and paste Flower as a new layer, Resize - 65% and place at the bottom right of your frame.
Copy and paste Felt Flower as a new layer, Resize - 50% and place in front of the other flower. Layers - Duplicate and move this layer below the first purple flower layer.
Copy and paste Purse as a new layer. Resize - 55%.
Copy and paste Shoe as a new layer, Resize - 45% and place beside the purse.
Copy and paste Earrings as a new layer, Resize - 35%.
Now I like to sharpen each layer except the mask layer, so to do that just go to Adjust - Sharpness - Sharpen and do this to all the layers I find it makes the tag look much more clear.
Make sure you add dropshadow to all the layers as well, I always use 2, 2, 35, 5, Black.
Then add your name with a font of choice.
Make sure to add your copyright.
If you have any problems with any of my tuts please feel free to send me a message.