
This tutorial was written by me for those that have a working knowledge of Paint Shop Pro.
Any similarity to other tutorials is not intentional.
Supplies:
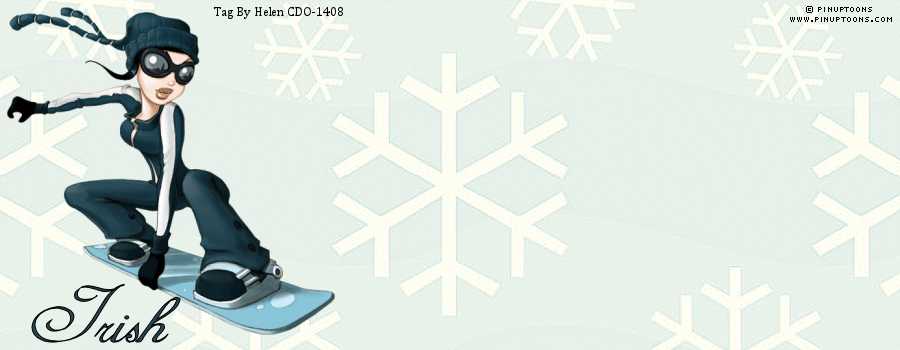
Tube of Choice. I am using Verymany. If you want to use the same tube you must purchase it, and have license to use it from Here.
Scrapkit - I used an fantastic kit called Emo Babe, Which you can download Here. Thank you for this beautiful kit.
Template - I used template 163 which you can get it Here.
Mask of choice. I used Mask 205 which you can get Here.
Filters - Eye Candy 4000 gradient glow.
Font of choice, I used Respective which you can get Here.
Ok lets get started.
Open your template and delete the credits layer.
Ok now I am using the Kristin folder in the Emo Babe kit so make sure you have the right folder before we start.
Now go to layers - add a new raster layer and flood fill with white, Then go to layers - arrange - Send to the bottom.
Copy and paste paper 9 just above the white background layer and resize - 110%, Go to layers - New mask layer - From Image - Then in the pull down menu find your mask - Source Luminance. Invert mask data NOT ticked. Merge group.
Ok now I find skulls abit scary so I deleted the Left and Right skull layers. But you can keep them in there.
Ok now we are going to add papers to all the template layers, We do this by clicking on each layer and then going to Selections - Select all - Float - Defloat, copy and paste your paper then go to Selections - Invert - Hit the delete key and select none, And delete the original template layer.
Ok now add these papers to the following layers:
Rectangle - Paper 2.
Left and Right Rectangle - Paper 9 resized 105% to make sure it fits the full rectangle.
Circle 1 - Paper 2.
Circle 2 - Paper 5.
Now I am going to resize all layers now before I add the tube so I can get a better idea of the finished result, So go to Image - Resize - 84% with resize all layers ticked.
Now add your tube of choice.
Copy and paste Bunny as a new layer, Resize 18% and place inside your bottom left star then go to Layer - Duplicate - Image - Mirror and place it in your top right star.
Now copy and paste Splatter as a new layer just above the mask layer, Resize - 120% go to Layers - Duplicate - Image - Mirror.
Now go to Adjust - Hue and Saturation - Colorize then using these settings colorize the following layers:

Right Star Back.
Left Star Back.
Wordart By Kristin.
Glitter Circle.
Dotted Line 2.
Sm Stars 2.
Dotted Line 1.
Sm Stars 1.
Ok now any other elements that you like.
Now I like to sharpen each layer except the mask so to do that just go to Adjust - Sharpness - Sharpen and do this to all the layers I find it makes the tag look much more clear.
Make sure you add dropshadow to all the layers as well, I always use 2, -2, 34, 3, Black.
Then add your name with a font of choice I used Respective.
Make sure to add your copyright.
If you have any problems please let me know.
No comments:
Post a Comment